Overview
Trigger campaigns enable on-demand messaging through webhook integrations and API calls. Unlike bulk campaigns that send once to everyone, trigger campaigns activate when external events occur, making them perfect for personalized, real-time communication.Webhook Integration
Trigger messages from your app, website, or third-party services via API
calls
Dynamic Personalization
Send personalized messages using data passed in the trigger request
How Trigger Campaigns Work
Trigger campaigns operate through a webhook-based system:Creating a Trigger Campaign
1. Start New Campaign
Navigate to Campaigns and click Create Campaign, then select Trigger.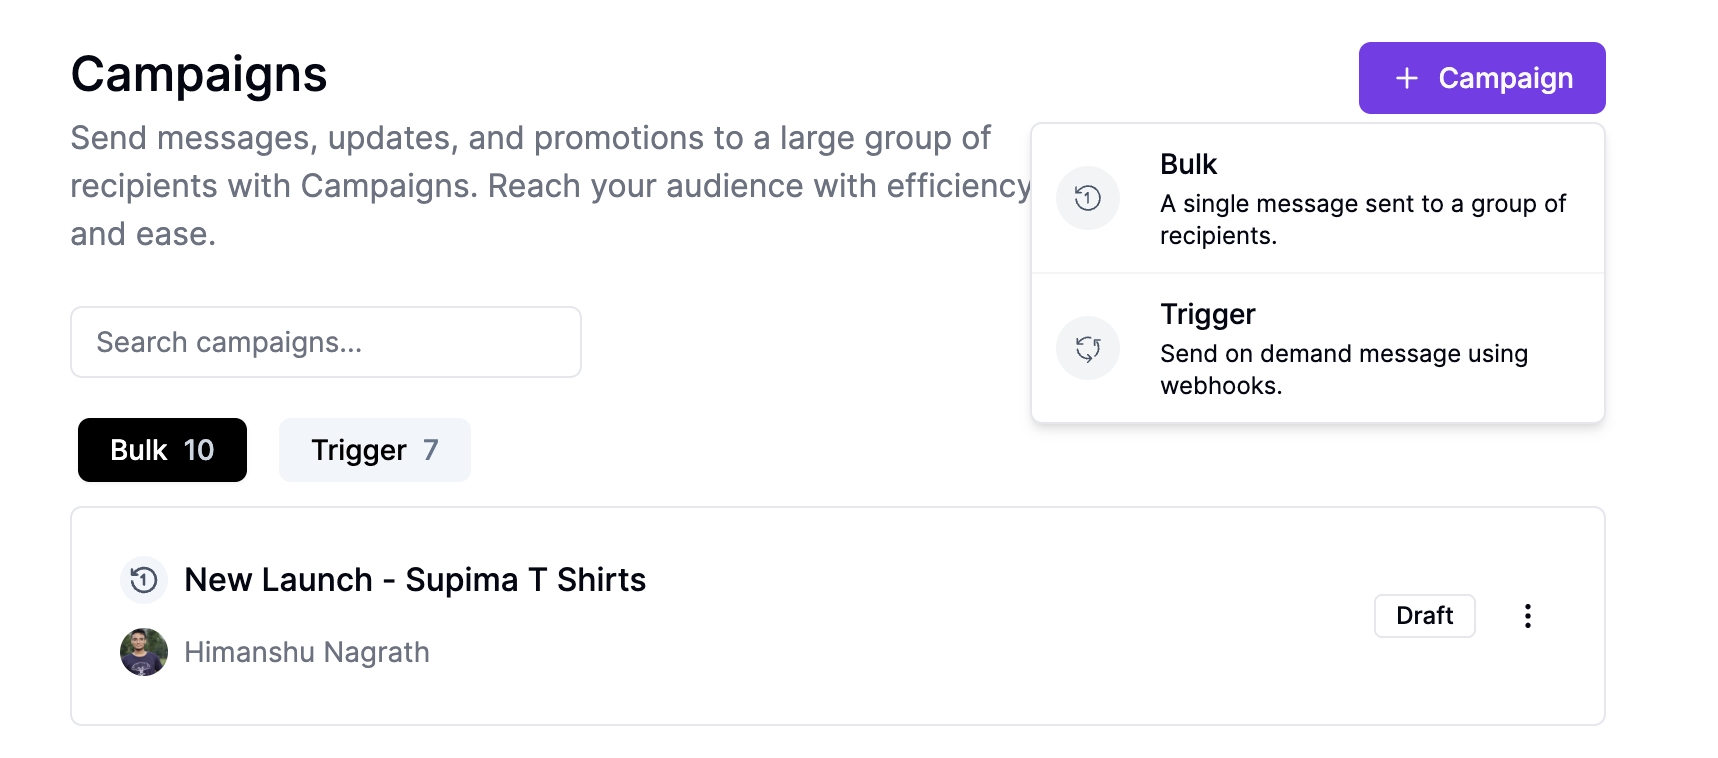
2. Configure Trigger Node
Set up attribute mapping to define how data from API calls maps to contact attributes:- Phone Number Mapping: Map the field containing the contact’s phone number (required)
- Custom Attributes: Map additional fields like name, email, purchase details
- Data Validation: Define expected data types and required fields
3. Add Message Actions
Configure the WhatsApp message to send when triggered:- Template Selection: Choose an approved WhatsApp template
- Variable Mapping: Map API payload fields to template variables
- Variable Replacement: All template variables will be replaced by contact attributes before sending the message
- Personalization: Use dynamic data for personalized messaging
4. Deploy Campaign
Activate the campaign to start accepting webhook triggers:- Webhook URL: Copy the generated webhook endpoint
- Authentication: Note any API keys or authentication requirements
- Rate Limits: Review sending limits and throttling
API Integration
Webhook Endpoint
Once deployed, your trigger campaign exposes a webhook endpoint:Authentication
Include your API key in the request headers:Request Schema
The API validates requests against your configured attribute mapping:Contact’s phone number in E.164 format (must map to phoneNumber attribute)
Any additional fields you’ve mapped in the trigger configuration
Campaign Status Management
Trigger campaigns have different status behaviors than bulk campaigns:- Paused
- Active
Campaign is configured but not accepting webhook triggers. Make
configuration changes safely.
Use Cases
E-commerce Order Confirmations
E-commerce Order Confirmations
Send order confirmations, shipping updates, and delivery notifications
triggered by purchase events in your store.
Customer Support Tickets
Customer Support Tickets
Notify customers when support tickets are created, updated, or resolved
through your helpdesk system.
Appointment Reminders
Appointment Reminders
Send appointment confirmations and reminders triggered by your booking system
or calendar.
User Onboarding
User Onboarding
Welcome new users and guide them through onboarding steps based on
registration or first login events.
Abandoned Cart Recovery
Abandoned Cart Recovery
Re-engage customers who leave items in their cart with personalized reminder
messages.
Best Practices
Data Mapping
- Required Fields: Always map phone number to the phoneNumber attribute
- Validation: Include data validation to prevent errors from malformed requests
- Fallbacks: Plan for missing or invalid data in API payloads
Message Personalization
- Dynamic Content: Use mapped attributes to personalize message content
- Conditional Logic: Include fallback text for when optional data is missing
- Testing: Test with various data scenarios before going live
Error Handling
- Retry Logic: Implement retry mechanisms for failed API calls
- Logging: Monitor API responses and error rates
- Graceful Degradation: Handle cases where the webhook service is unavailable
Integration Examples
Shopify Integration
Zapier Integration
Connect trigger campaigns to 1000+ apps through Zapier webhooks:- Create a Zap with your trigger app (Gmail, Google Sheets, etc.)
- Add a Webhook action pointing to your campaign endpoint
- Map form fields to your campaign’s attribute schema
- Test and activate the Zap
Monitoring and Analytics
Track trigger campaign performance through:- Request Volume: Monitor API request frequency and patterns
- Success Rates: Track successful vs. failed message deliveries
- Response Times: Monitor webhook response performance
- Error Analysis: Review common failure reasons and validation errors
- CSV Export: Download detailed campaign logs as a CSV file for comprehensive analytics, including phone numbers, template messages, delivery status, and specific error reasons for failed messages
Troubleshooting
Webhook Not Triggering
Webhook Not Triggering
Verify the campaign is in “Active” status and the webhook URL is correct.
Check API authentication and request format.
Invalid Phone Number Errors
Invalid Phone Number Errors
Ensure phone numbers are in E.164 format (+country code + number) and properly
mapped in the attribute configuration.
Template Variable Errors
Template Variable Errors
Check that all template variables have corresponding mapped attributes in the
trigger configuration.
Rate Limit Exceeded
Rate Limit Exceeded
Monitor request frequency and implement appropriate throttling in your
application to stay within API limits.
Next Steps
- Learn about Bulk Campaigns for one-time mass messaging
- Set up WhatsApp Templates for professional message formatting
- Explore Automations for complex multi-step messaging workflows