Profile Settings
The Profile settings page allows you to manage your personal information, profile picture, and account details within SwiftSell.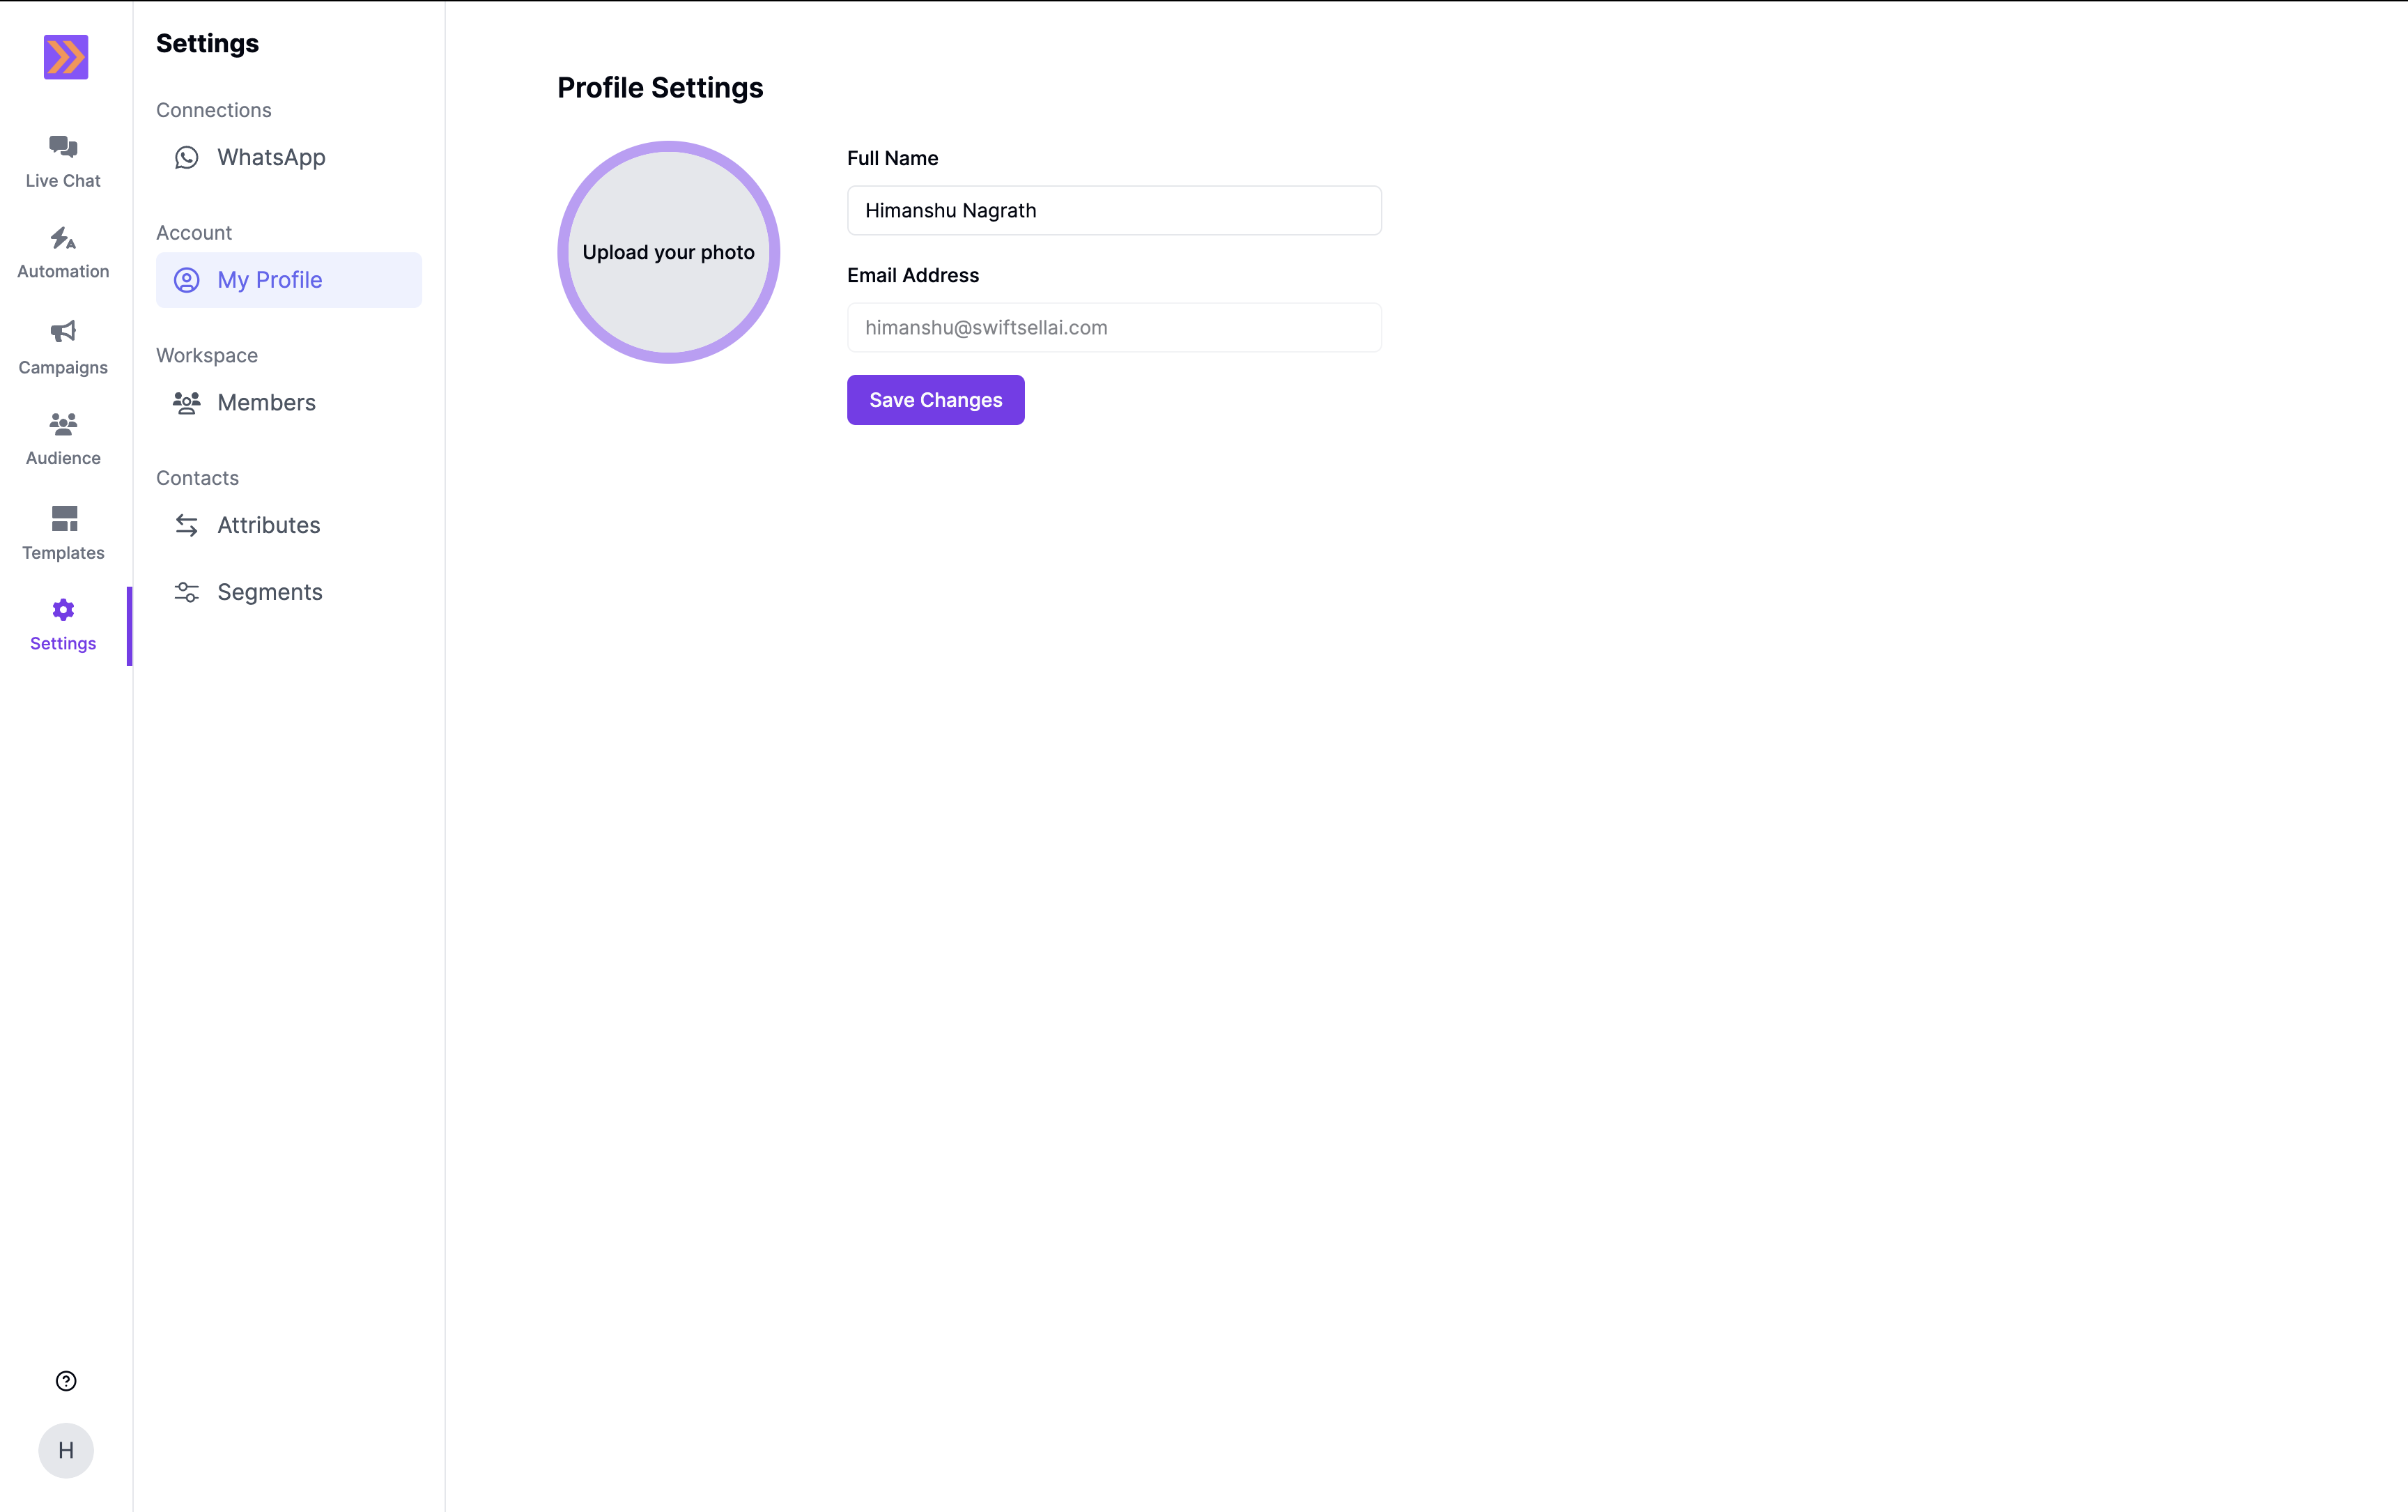
Accessing Profile Settings
There are several ways to access your profile settings:From the Settings Menu
- Click the Settings icon in the left sidebar
- Select My Profile under the Account section
From User Avatar Menu
- Click your profile avatar in the bottom left corner of the sidebar
- Select Profile from the dropdown menu
Keyboard Shortcut
Use the keyboard shortcut⇧⌘P (Shift+Cmd+P on Mac, Shift+Ctrl+P on Windows/Linux) to navigate directly to your profile settings from anywhere in the application.
Profile Picture Management
Uploading a Profile Picture
- First-time Upload: If you don’t have a profile picture, you’ll see an upload area with the text “Upload your photo”
- Click the upload area
- Supported formats: PNG and JPEG images only
- The image will be automatically uploaded and set as your profile picture
Changing Your Profile Picture
- Hover over your existing profile picture to reveal the remove button
- Click the upload area to select a new image
- Your new picture will replace the existing one automatically
Removing Your Profile Picture
- Hover over your profile picture to reveal the control overlay
- Click the X button that appears at the bottom of the image
- Your profile picture will be removed, and you’ll return to the default avatar
Personal Information
Full Name
- Editable field where you can update your display name
- This name will appear throughout the application when others see your profile
- Changes are saved when you click the “Save Changes” button
Email Address
- Read-only field that displays your registered email address
- Email cannot be changed from the profile settings
- This is the email you use to log into SwiftSell
Saving Changes
- Make your desired changes to your full name
- Click the “Save Changes” button at the bottom of the form
- Loading state: The button will show a loading indicator while saving
- Confirmation: You’ll receive feedback when changes are successfully saved